

I have previously shown how to downdown yout photos from Instagram with various web services, which you can read here>. There is an additional way to save the pictures and I mainly use if I want to get the comments to an image to, then I save Instagram pictures with captures. There are various methods to do screen captures or screenshots, I’ll show you two options here.

Snipping Tool
In Microsoft’s standard software includes a tool called the Snipping Tool. Are you a Mac user you can read about how to it here. You can use Snipping Tool to save anything on the screen, not just the images from Instagram.
If you want to save a picture from Instagram start by navigating to the Instagram website by clicking here. Login with username and password and you have your flow on the screen. You can choose to make a screenshot of someone else’s picture or of your own pictures.
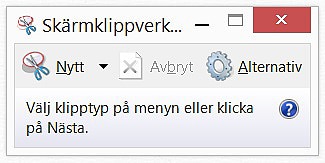
Open Snipping Tool
In Windows 7 or earlier, click the Start menu button at the bottom left, click All Programs and go to Accessories. Here you will find the Snipping Tool and click on it. You can also search in the box at the bottom of the Start menu and write Snipping Tool.
In Windows 8 and newer, go to the startpage of the screen and tap the right edge of the screen until you see the options. Press Search, and type Snipping Tool in the search box and click the Snipping Tool when it pops up. In Windows 8.1, you only need to write the word “Paint” somewhere on the start screen and the result pops up to the right of the screen.
You can take all these types of snips:
- Cut a free format. Draw any shape around an object with your finger or pointer.
- Rectangular clip. Drag the cursor around an object in the shape of a rectangle, which is the most common and most useful.
- Window clip. Select a window, such as a browser window or dialog box.
- Full Screen Cut. Take a screenshot of the entire screen.
Take a snip
In the Snipping Tool click the arrow next to New, select the type of screen captures and then select the area you want to take a picture of by dragging the pointer around the area you want to save. The clip is then displayed in the window of Snipping Tool.
Save a snip
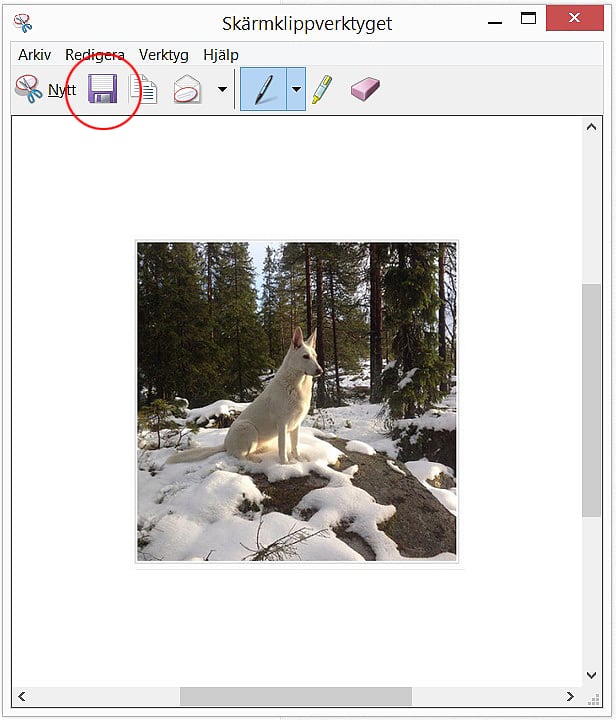
After taking a snip, click the button with the symbol of saving. Enter a name, choose a location to save the image, and click the Save button.
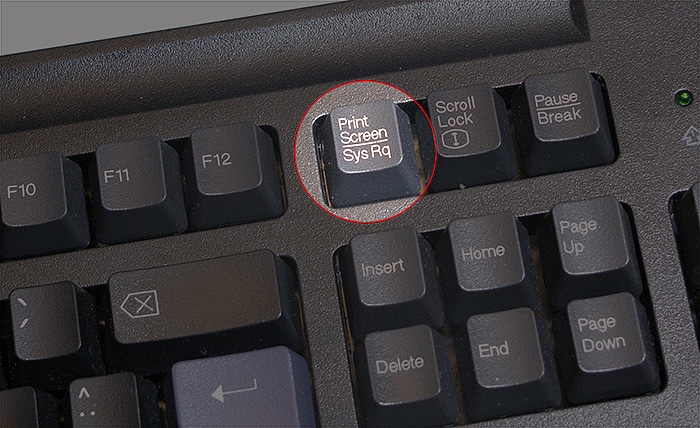
Take screenshot with Print Screen
A bit more complicated way to take a snip that also works is to use the Print Screen.
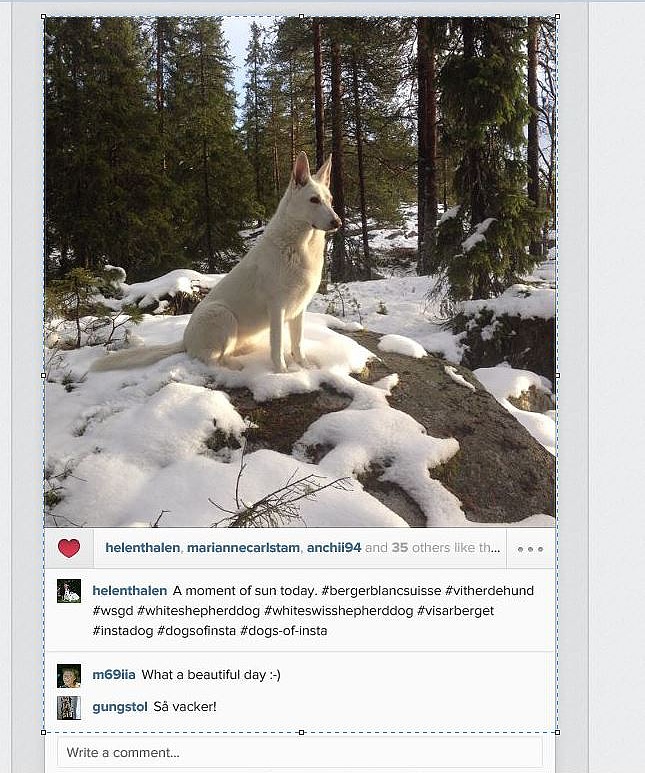
Start by navigating to the Instagram website by clicking here.
Take a snip with the Print Screen
Select image and when you have it on the screen, click the Print Screen key. You can find it in the upper right part of the keyboard, it can be shortened with the text Prt Sc.
When you click the button nothing happens that you notice immediately..
Then open the Paint program included in Microsoft’s standard programs. In Windows 7, click the Start menu, click All Programs, click Accessories, and there you will find Paint that you click on to open the program. Do you use Windows 8 and later, go to the start screen, tap one of the corners on the right side of the screen, click Search and type in the search bar Paint. Click on the icon with a palette and the application opens.

Once Paint is open, click Paste on the top left or Ctrl + V.
Now you have the screenshot in Paint, the entire screen including menus and other things that were visible when you took the screen.

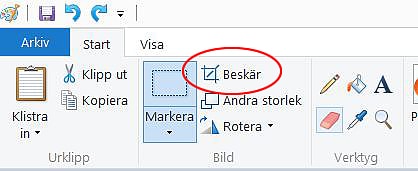
Do you want to crop the image, which you probably want, click Select and drag a box around that will be left in your picutre, you see the selection as a dashed line.
After selecting what will be left, click Crop.
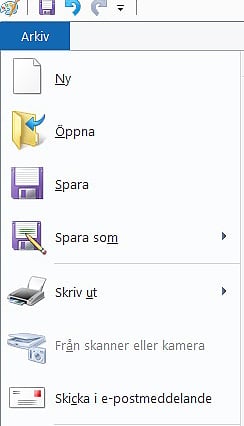
Save the image by clicking on Archive, Save and select the JPEG image. Select the folder in which to save the image and click Save.
***
Now you have a number of additional ways to save downloaded images from Instagram and I hope that something can be useful.