Today I have two posts at Hobbyworld and the second post is a tutorial how to make small mini bags to Advent calender. Of course you can have these small bag to other stuff, to small gifts of sweets or other small things.
These small bags are fun and quick to do so it’s quick to make a few.
This is how you do the mini bags
Cut a piece of paper in the 6 x 5 inches, I show how you do this with a piece of white cardstock so that it easier to see how I do.
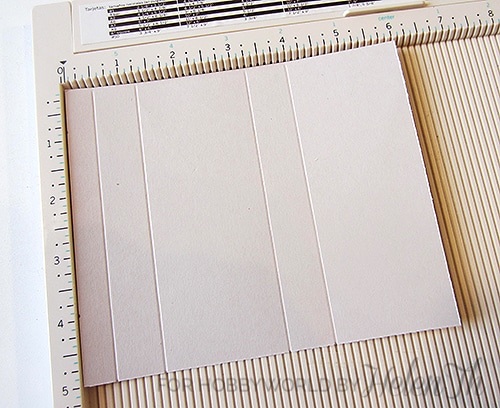
Score the long side at 0.5, 1.25, 3.25 and 4 inches.
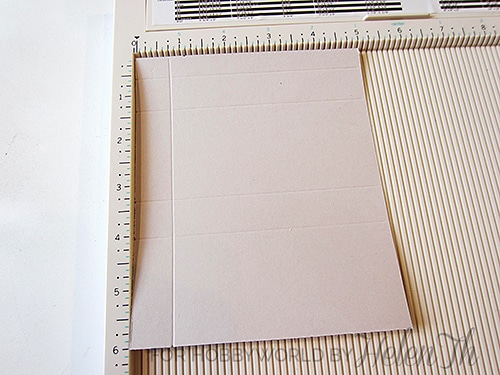
Turn the paper a quarter turn and score at 0.75 inch.

Cut off the small square at the narrow strip, then cut up the scorings from the bottom up to the transverse score.
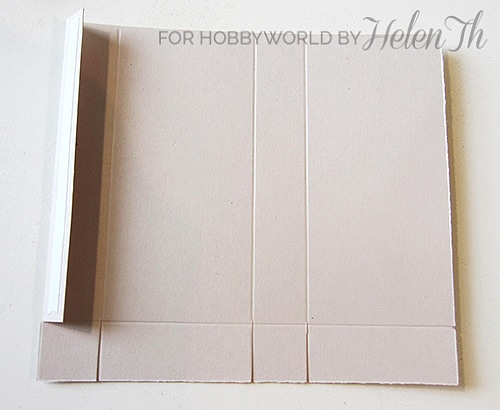
Fold in the narrow edge and put a string of glue or tape along the entire edge.
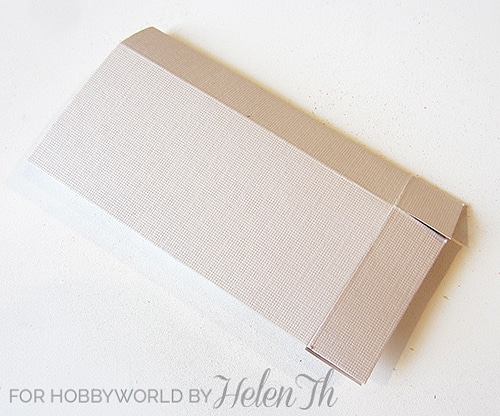
Fold the entire sheet so it attaches to the tape.
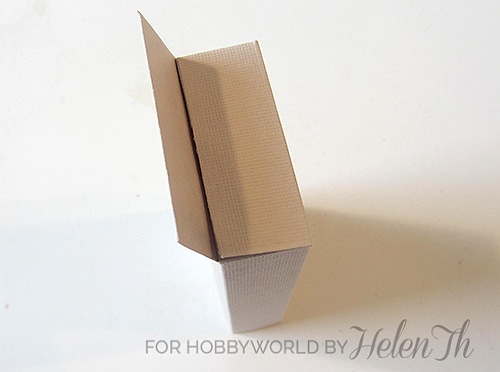
Fold the bag, place it upside down, fold in the narrow strips on the bag’s sides and then the big tabs and attach with glue or tape.
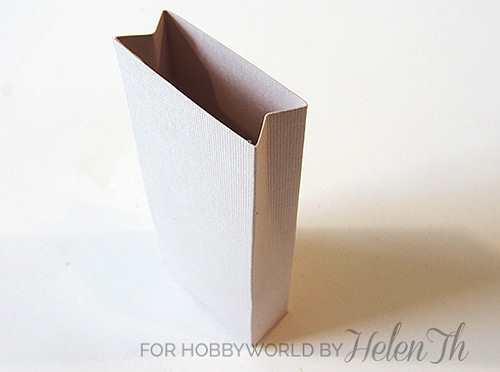
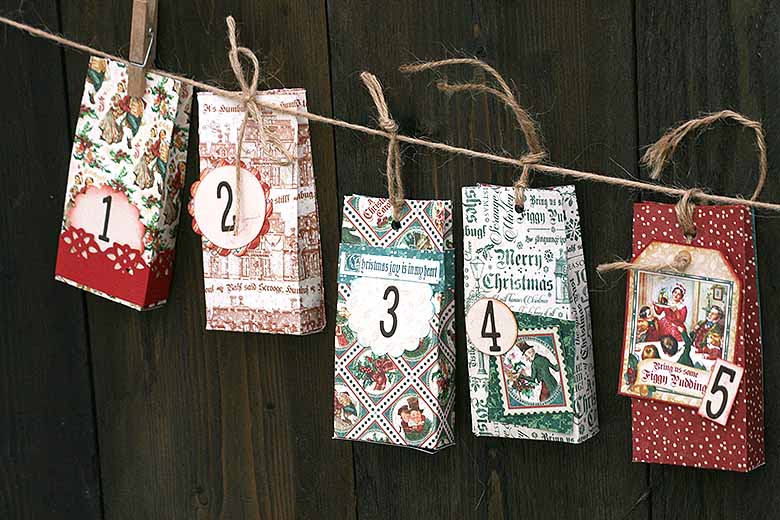
The bag is almost ready by now, set it up and fold small creases in the top of the sides of the bag so you can pinch together the bag. Then you can choose to make a hole in the top of the bag and fasten it with a piece of string or you can fasten it with a clothespin or perhaps stapled together.
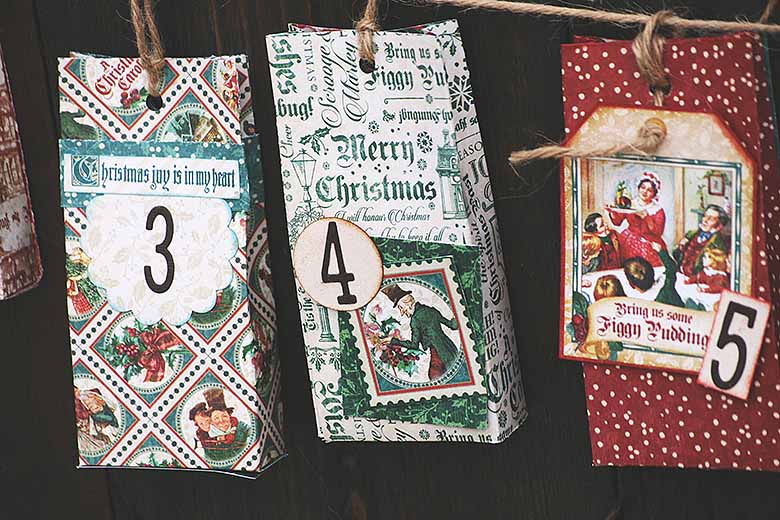
When the bags are decorated and ready, you can hang them up on a line in a string or something else.