One tool I have got that is really fun and useful is the We R Memory Keeper’s Photo Sleeve Fuse Tool. The simple explanation of its function is that with it you can do seams in plastic pockets and thus one can design your own photo pockets as you want. If you are involved in the Project Life then it is a very fun tool, but you can also do other things with it.
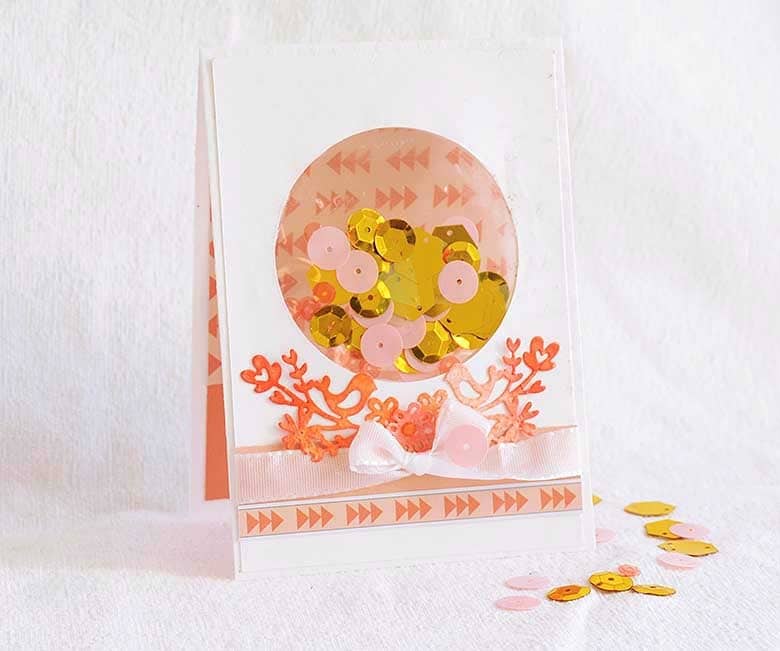
Today at Hobbyworld I made a tutorial I called the Fuse Tool Shaker Card, there I show how to make a shaker card with the help of this tool. This is how the card turned out that I made with this technique.
Shaker card with Fuse Tool
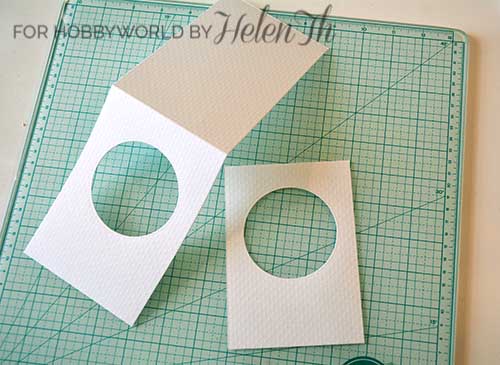
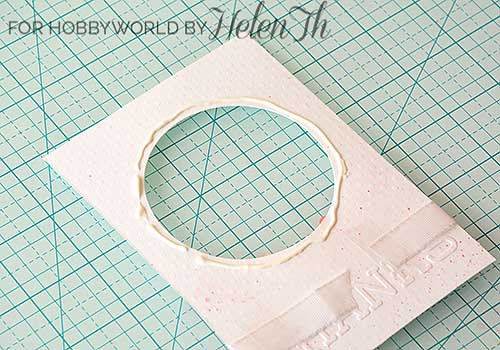
Make a card base and a front piece to the card in the format you want. Punch out the window in both the card base and the front piece.
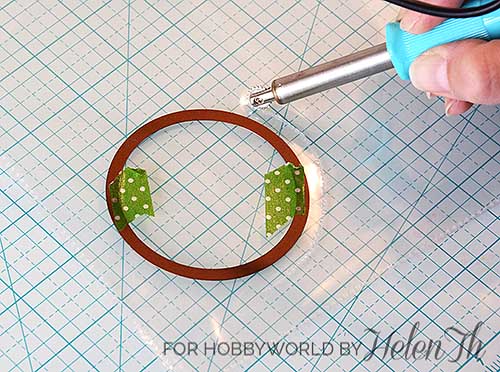
Take a plastic page protector and add the same die as you used to make the window on the plastic. I anchored my die with some washi tape.

Then take a heated Fuse Tool and make a seam around the outside of the die, a little bit outside the edge of the die but do don’t go all the way around, leave an opening.
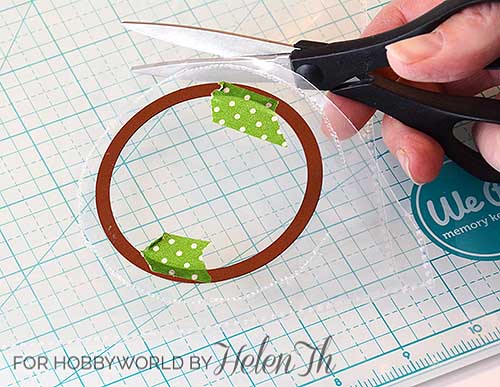
Then cut the plastic just outside the pocket.
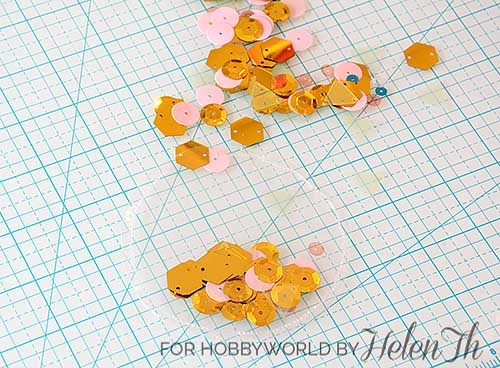
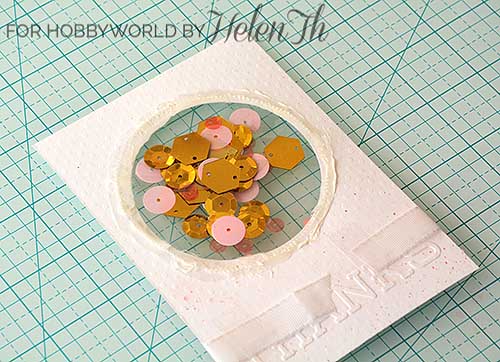
Fill the pocket you made with sequins or anything else you want to. Just not too thick things then it is likely that the pockets stitching flaws.
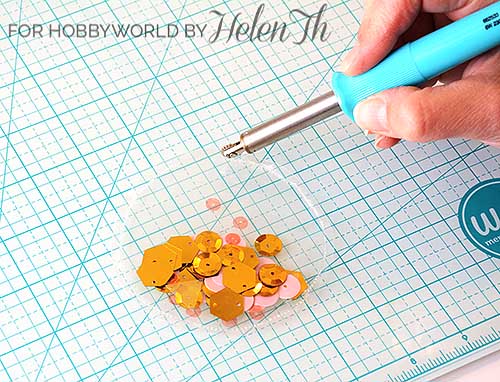
Seal the pocket with the Fuse Tool.
Decorate the front piece of the card as you like.

Turn it upside down and place a bead of glue around the edges of the window.
Attach the pocket with sequins in the glue.
Then attach the entire front panel to the card base and fit it into the window you made in the card base.
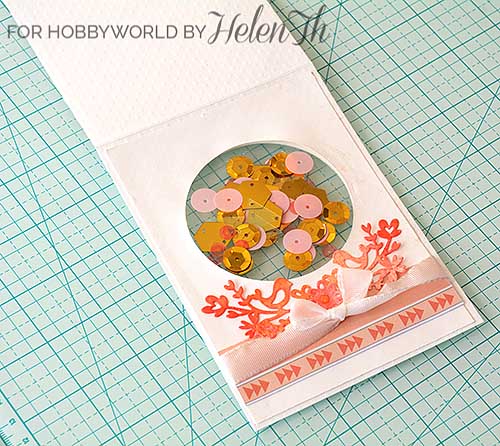
If you like you can decorate the inside of the card and then it’s done!