Today I show how to do the cutting files to use with a Silhouette Cameo or similar of drawings that you made yourself or handwritten text at Hobbyworld. It’s really fun and it will be very personal if you draw or write something yourself and the result gets really professional.
Do your own cutting file from drawing
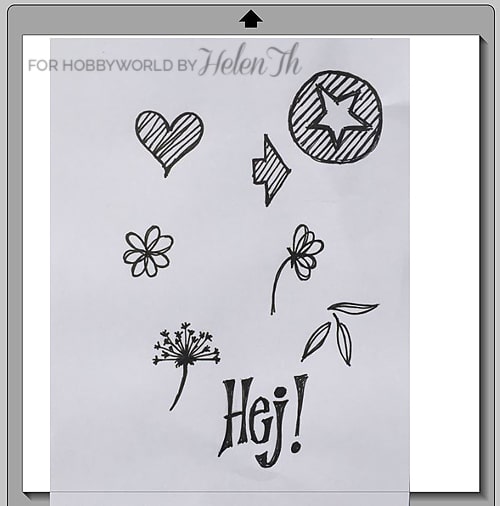
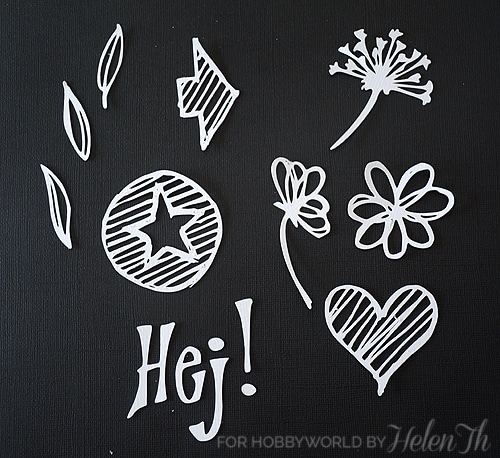
What you need besides a Silhouette Cameo is a camera, it is good enough with a mobile camera and then any design or text. I have drawn some flowers and another stuff plus I wrote the word “Hello” and intend to make this to a cutfile.
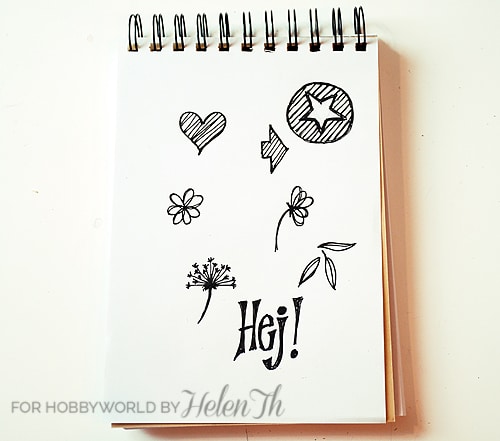
When drawing or writing preferably, use a black pen so the contrast with the paper becomes as large as possible. When you are happy with the drawing take a picture of the drawing, try to shoot in as good a light as possible, preferably outdoors, by a window or under bright lights.

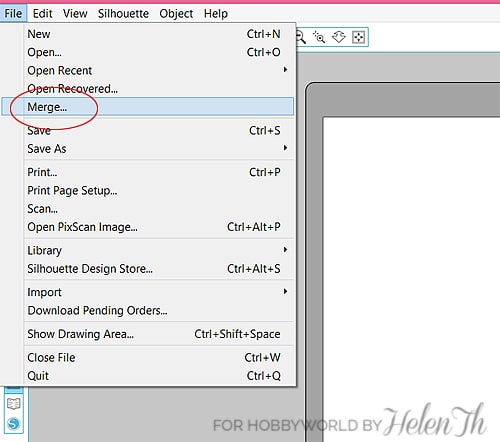
Then you need to transfer the image to your computer, either through any cloud service (as Dropbox or Google Drive), via the mobile phones cable, or maybe you can mail the picture to yourself. Then open Silhouette Studio and click the File tab, and Merge. Locate the picture you took and click OK, now you have your photo in the program.
Perhaps the picture became terribly big but just pull in the corners until it fits on the page. The white paper that you drew on may not appear white in Silhouette Studio but it does not matter.
Now, click on the Trace, and then the Select trace area.
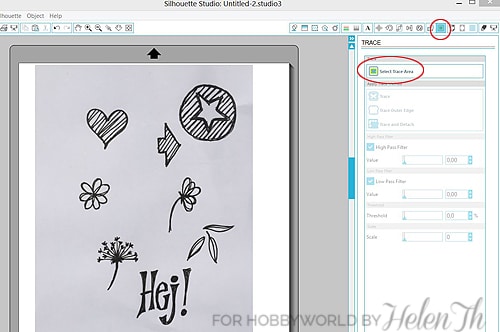
If you have designed several items you probably want to do these into separate parts, then you must select each shape with the select tool that pop up when you click on Select trace Area. See the picture below.
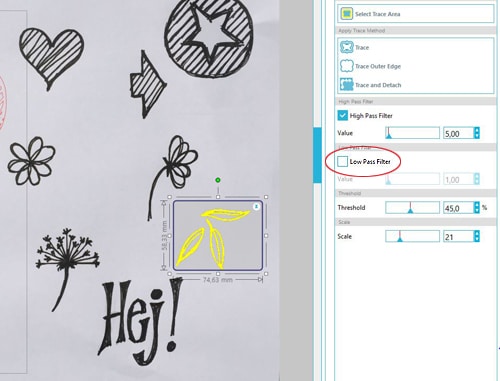
Uncheck the box next to High Pass Filter, it is best that as much as possible of the black in the image will become yellow. Is all not real yellow then increasing the values carefully at the Threshold and Scale without anything else in the picture turns yellow. When you are satisfied, click Trace. Once you have done this with all the parts of your image select the background image and click the Delete so you get rid of it.

Now you have a finished cutfile where you can select the various parts separately to enlarge, reduce, copy and so on. Then it’s just to cut out the parts in the material you want
This is how the parts became when I cut them out.
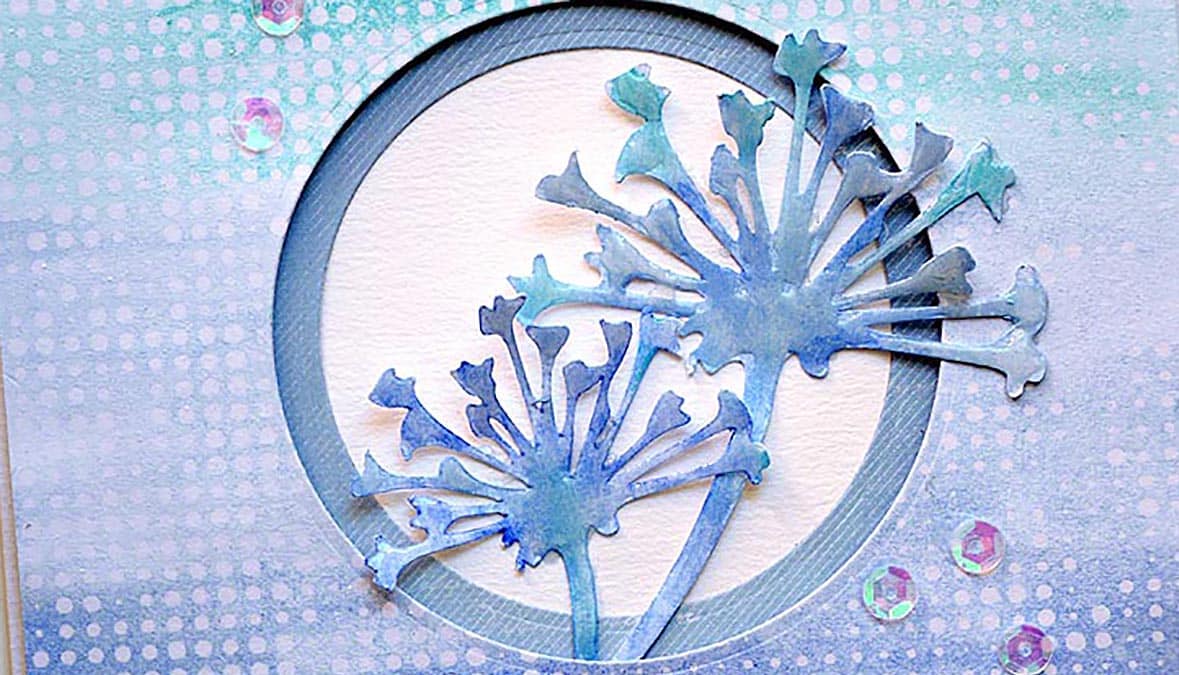
On this card I used a flower that I designed myself and then cut out with Cameon in two sizes.
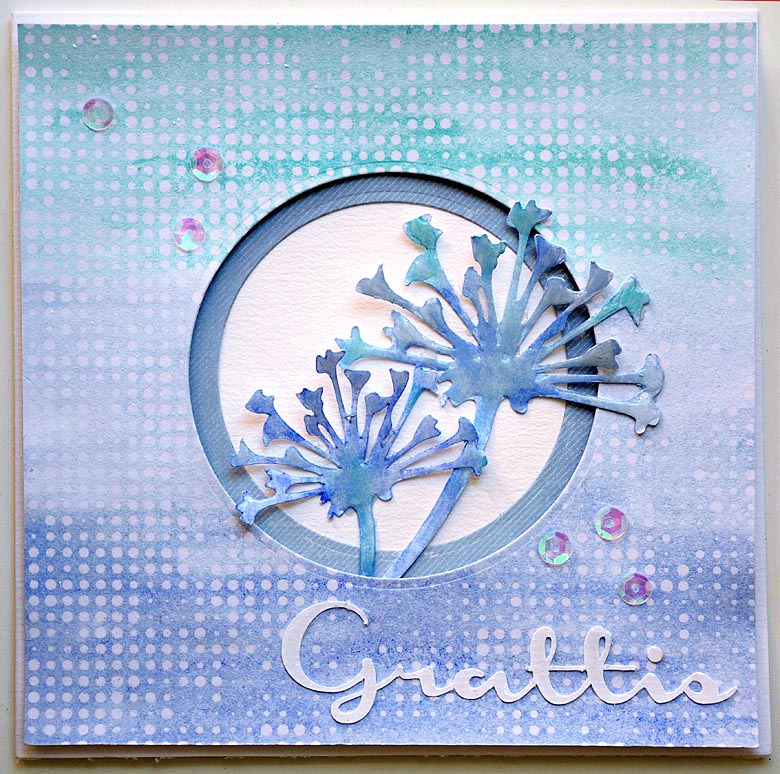
The background in different blue tones, I have colored with Gelatos colors on a resist-paper from Tim Holtz.