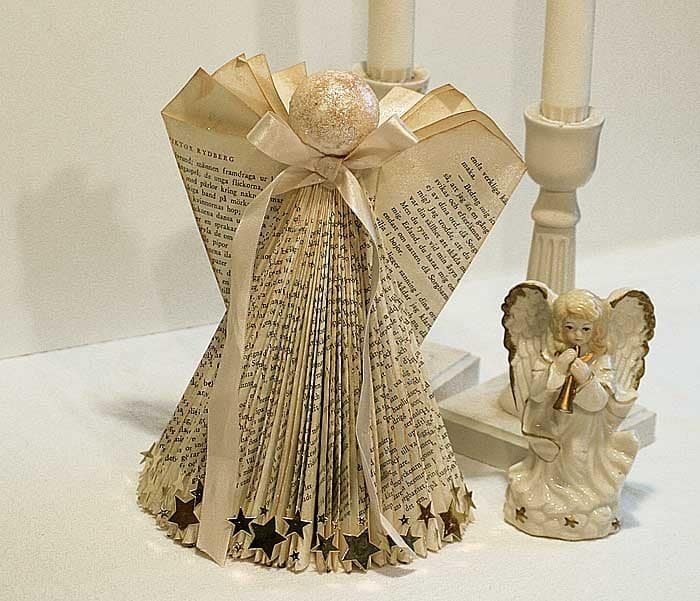
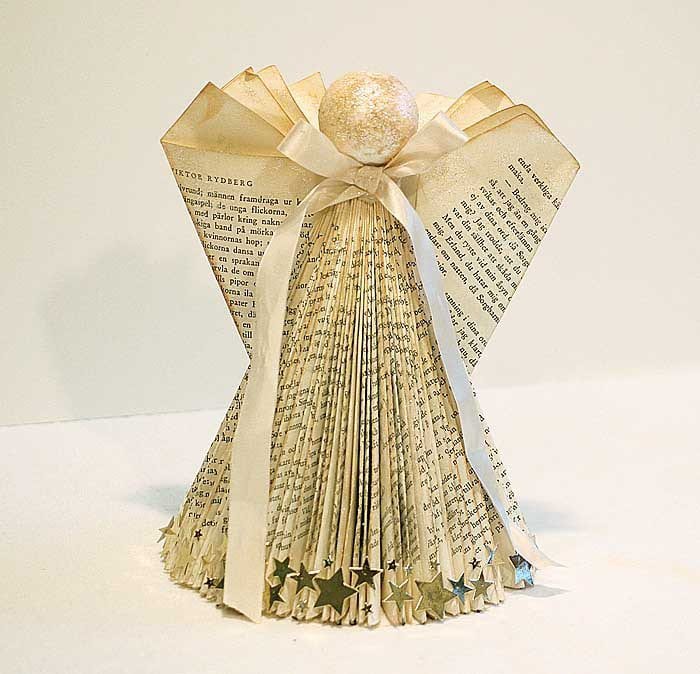
Recently, it has been brought up among some crafting friends about something called Folded Book Art where you fold sheets in books in different shapes and patterns, and I have not been able to stop thinking about it. Finally I got an idea to try to fold a bookangel, both to get to try this technology and make a product to the competition.
It really was not difficult to fold the angel so I made a tutorial how to do it. Would you rather make a Christmas tree of your book, it is just as well.
Tutorial for bookangel or christmas tree
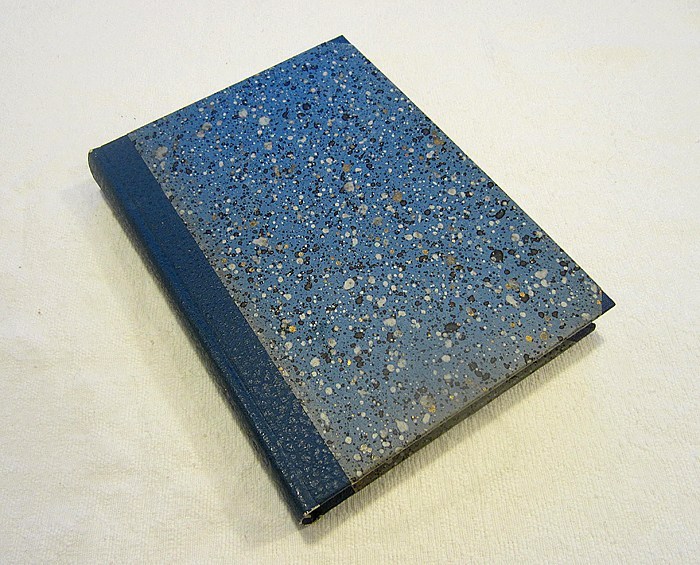
You need a book that will be of about 120-150 pages (numbered pages and not the number of sheets). If you have a thicker book so simply remove some pages by splitting the book with a scissor or knife.
Start by tearing off the cover of the book.
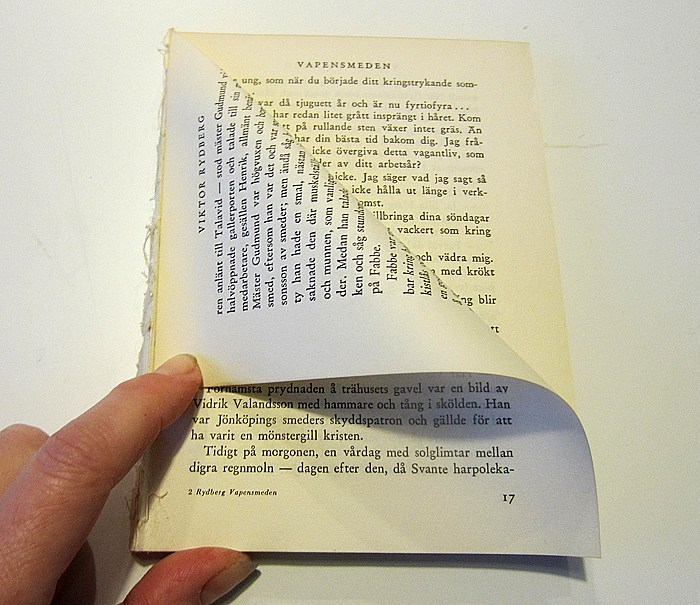
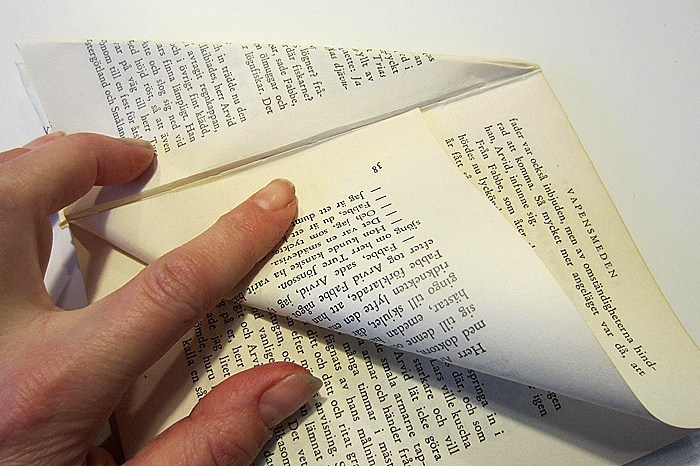
Fold each sheet so that the upper right corner is in the center, toward the book’s back.
Fold the sheet once more so that it meets the middle again.
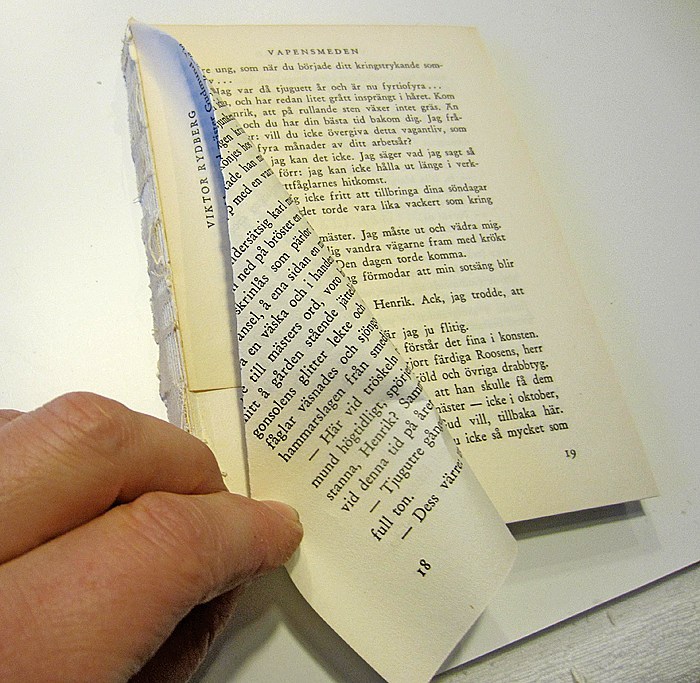
Turn the sheet over and fold in the tip of the blade, the one sticking out from under the book.
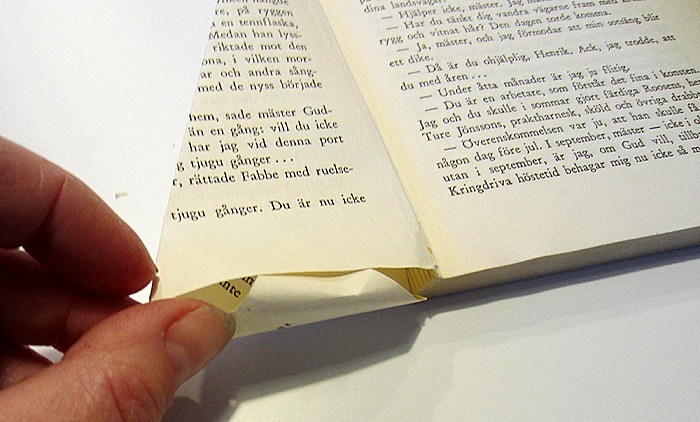
Tuck the flap of the sheet as shown. Continue to do the same with subsequent sheets.
Christmastree of book
Should you make a Christmas tree of the book continues in the same way with the whole book.
Angel of the book
Should you make an angel so fold the first 20 pages as I have shown above.
When you made it, fold the following 5 sheet in reverse direction, fold up the lower right corner to the middle.
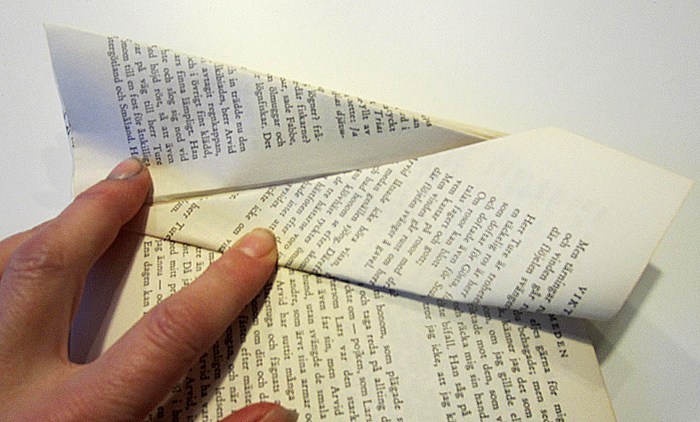
Fold also these sheets twice but do not fold in the tips to get the pointy wings that’s on my angel.
 n.
n.
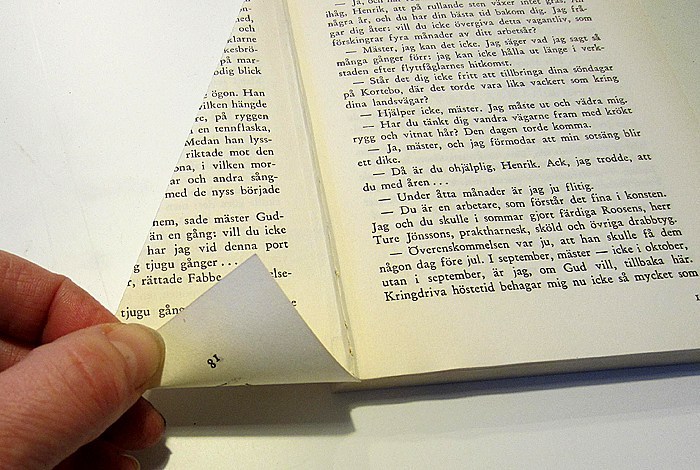
To get some spread to the wings so do not fold in the second fold right into the middle. It need not be so very great difference between the sheets and the last blade of the wing is the gap I show in the picture above, it is about 1-1.5 cm left to the middle at the top of the sheet. Now one of the angel wing are completed.
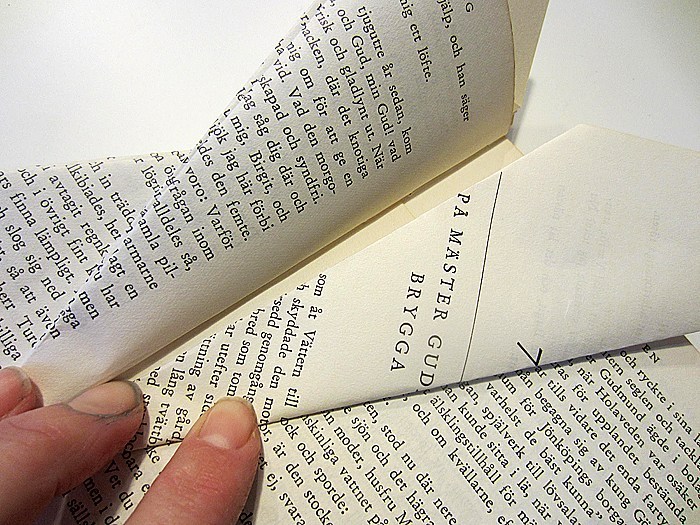
Continue to fold the sheets down, as you did from the beginning, and when you have about 25 sheets left in the book, fold another 5 sheets up to the next wing. To get the wings symmetric so do not forget to do the opposite, start with a wing where the second fold have a little distance to the center, as in the last picture above.
Then fold the rest of the book down, it can get a bit difficult to fold the last pages but it’s possibly.
To make the angel complete, you need a ball for head, e.g. of Styrolit or wood, that you glue on the top. You can then decorate the angel with glitter, ribbons, paint and other things as you see fit.